Selling a home is a big decision, and first impressions matter. When buyers walk into a property, they often make up their minds within minutes. That’s why many people use professional home staging to make their homes look beautiful, clean, and ready to sell.
In this blog, we’ll walk you through the full home staging process. This simple guide will help you understand each part of the journey, from the first visit to the final touches. Whether you’re a homeowner or a real estate agent, knowing the staging workflow will help you feel more prepared and confident.
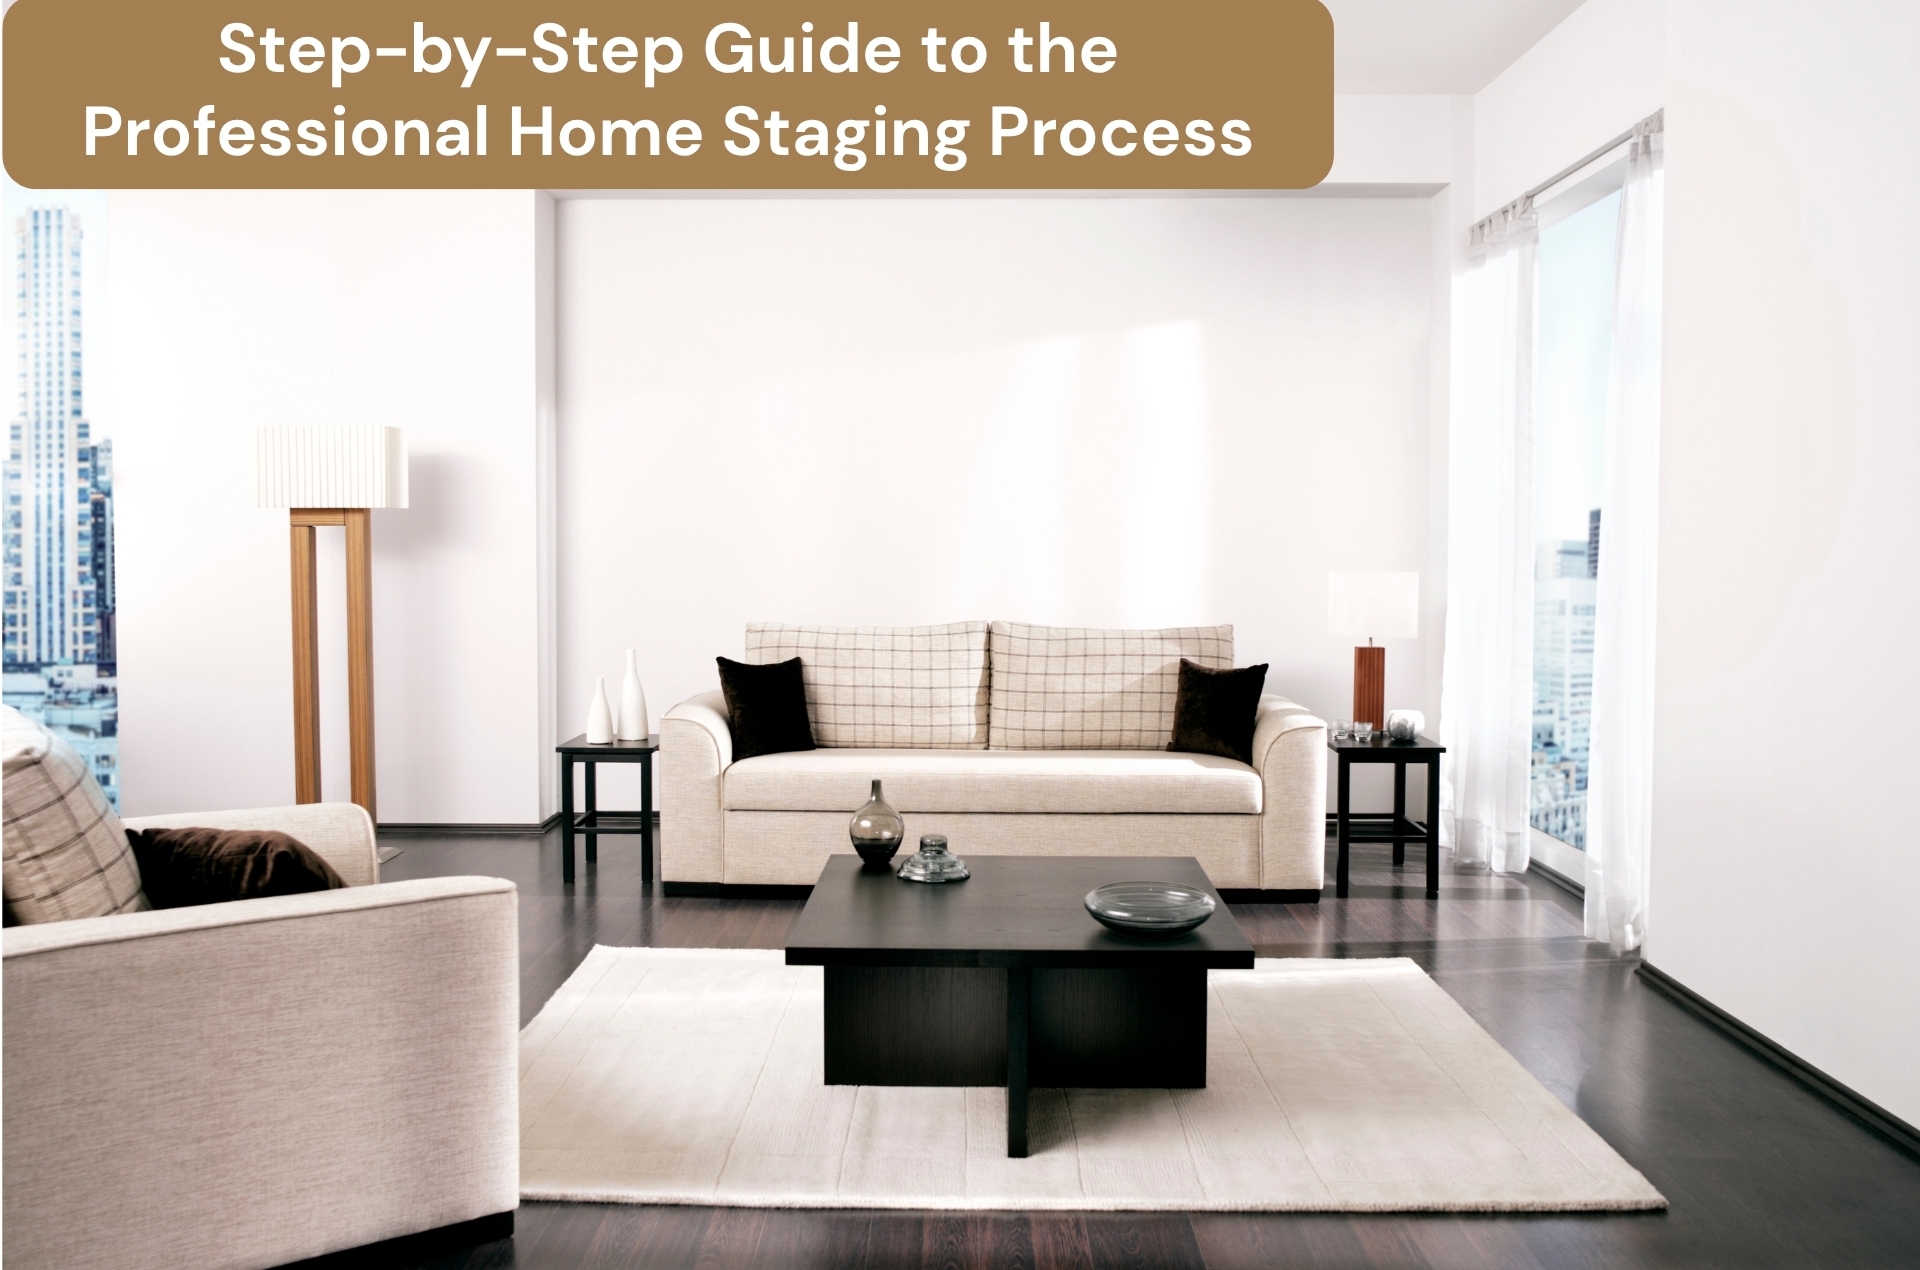
Complete Guide to the Professional Home Staging Process
Step 1: The First Contact
The home staging process begins when you reach out to a professional staging company. This can be done through a phone call, email, or online form. During this step, you give basic details like your home’s location, size, and selling timeline.
The staging team may also ask for photos or arrange a time to visit the property. This first step is quick and helps the team understand your needs.
Step 2: On-Site Visit or Virtual Walkthrough
Next, the team will visit your home or do a virtual tour. This is a very important part of the staging workflow. The stylist will walk through each room and look at the layout, light, colours, and current furniture.
They will take notes and may take some photos. This helps them plan the best design for your space. They’ll also decide if they need to remove or keep any existing furniture.
Step 3: Staging Plan and Quote
After the visit, the team creates a staging plan and gives you a quote. This plan shows what kind of furniture and décor they will use. It also explains how the space will be styled.
The quote will include:
- The cost of staging
- What rooms will be staged
- How long will the furniture stay
- Extra services (if any)
This is the planning part of the professional staging steps. Once you agree, the staging date will be booked.
Step 4: Furniture Removal and Cleaning
Before staging can begin, the home needs to be clean and clear. This is one of the early staging phases. If you live in the home, you may be asked to pack away personal items like photos, toys, or clothes.
In some cases, a furniture removal service may be used to take away old or large items. The goal is to create a clean space for the new staging furniture. A good deep clean of the home is also important at this stage.
Step 5: Delivery and Setup
On the staging day, the team brings all the needed furniture and decorations. This is one of the most exciting staging phases. Items include:
- Sofas and chairs
- Dining tables
- Beds and bedding
- Artwork and mirrors
- Rugs, lamps, and plants
The team carefully places each item to show off the space. They think about lighting, colour, and space so that each room feels fresh and balanced. This part of the staging workflow may take a few hours or a full day depending on the size of the home.
Step 6: Styling the Details
Once the furniture is in place, the team adds the final touches. This includes things like:
- Cushions and throws
- Table settings
- Books and candles
- Small plants or flowers
These little items bring the home to life. They make the space feel warm, but not personal. This step is very important in the professional staging steps, as it helps buyers feel a connection to the home.
Step 7: Photography Ready
After styling is complete, the home is ready for real estate photos and open homes. Good photos are very important because most buyers will see the home online first.
The staging team makes sure everything looks perfect for the photo shoot. They may adjust lights, move items slightly, or fluff cushions to get the best look.
Step 8: Open Homes and Inspections
With the home beautifully staged, it’s time for buyers to visit. A well-staged home often makes buyers stay longer during open homes. They can clearly see how each space is used, which helps them imagine living there.
During this time, the furniture and décor stay in place. Most staging hire packages last 4 to 6 weeks, which is usually enough time to attract buyers and get offers.
Step 9: Pack-Up and Collection
Once the home is sold or the hire period ends, the staging team will return to collect the furniture and decorations. This is the final step of the home staging process.
The home will be returned to its original condition unless the owner has moved out. If needed, the team may also offer cleaning or removal services.
Staging Checklist Summary
Here’s a quick staging checklist to help you remember the steps:
- Contact a staging company
- Schedule a home visit or tour
- Receive a quote and plan
- Remove old furniture and clean
- Deliver new furniture
- Style the home with décor
- Prepare for photography
- Show the home to buyers
- Collect staging items after sale
Conclusion
A well-planned home staging process can help your property shine. By following each part of the staging workflow, you can turn an ordinary space into a beautiful home that buyers love. From the first call to the final pack-up, every step plays a key role in creating a great result.
Stage2Sell follows these exact professional staging steps to make sure your home looks amazing, sells faster, and gets the attention it deserves.